Showing posts with label do it yourself nails. Show all posts

Saturday, September 28, 2013

Mini Series: Halloween Nails-Graveyard

Todays nail tutorial will come from my sister! She wanted to make me a spooky graveyard, and I think she accomplished that :)

Before we begin I do want to say that I am sorry for the quality of the pictures. I know that in some the colors are off. Honestly, I am not sure why. I did try to edit them but I could not get it right so I decided to leave them like that. I am sorry if this causes an inconvenience to you.!


  • grey nail polish (N.Y.C- Sidewalkers)
  • black nail polish (Wet'N'Wild- Black Creme)
  • white nail polish (Sinful Colors- Snow Me White)
  • silver nail polish (Wet'n'Wild Metallica)
  • gold glitter nail polish (Santee-Copper Kiss Glitter)
  • yellow nail polish ((N.Y.C- New York Taxi Creme) or gold hexagon glitter 
  • Clear topcoat (Sinful Colors- Clear Coat #1064)
  • nail brushes


Apply a clear base coat, then paint your nail grey. 

 With a small squared nail brush, draw on a cross.


With the same brush, draw a half oval next to the cross.

With the same brush, or a smaller one, outline your cross and tombstone with white.

Draw a small yellow dot for the moon. Or stick on the yellow hex glitter.

Draw a couple lines with the silver polish.

Finish of with the glitter nail polish over the grey so simulate stars. Add a topcoat and you are done!


This graveyard design is very simple and easy to do. If you want to jazz it up more or make it more spooky, draw on spiderwebs on the cross, or over the tombstone. Remember, your lines don't always have to be perfect! I honestly believe that not being so perfect acts character to the nails (but that could just be me, lol).

Any who, hope you enjoy this one! Next post will be a DIY :)
Until next time!


Sunday, September 15, 2013

Mini Series: Halloween Nails- Mrs. Frankestein

Hello guys!
Sorry I have been absent after a week of regular posting...I have been coming up with ideas for this mini sereies HALLOWEEN NAILS!
Unfortunately, there won't be many Halloween DIY's..but I hope the nail tutorials will keep you satisfied :)
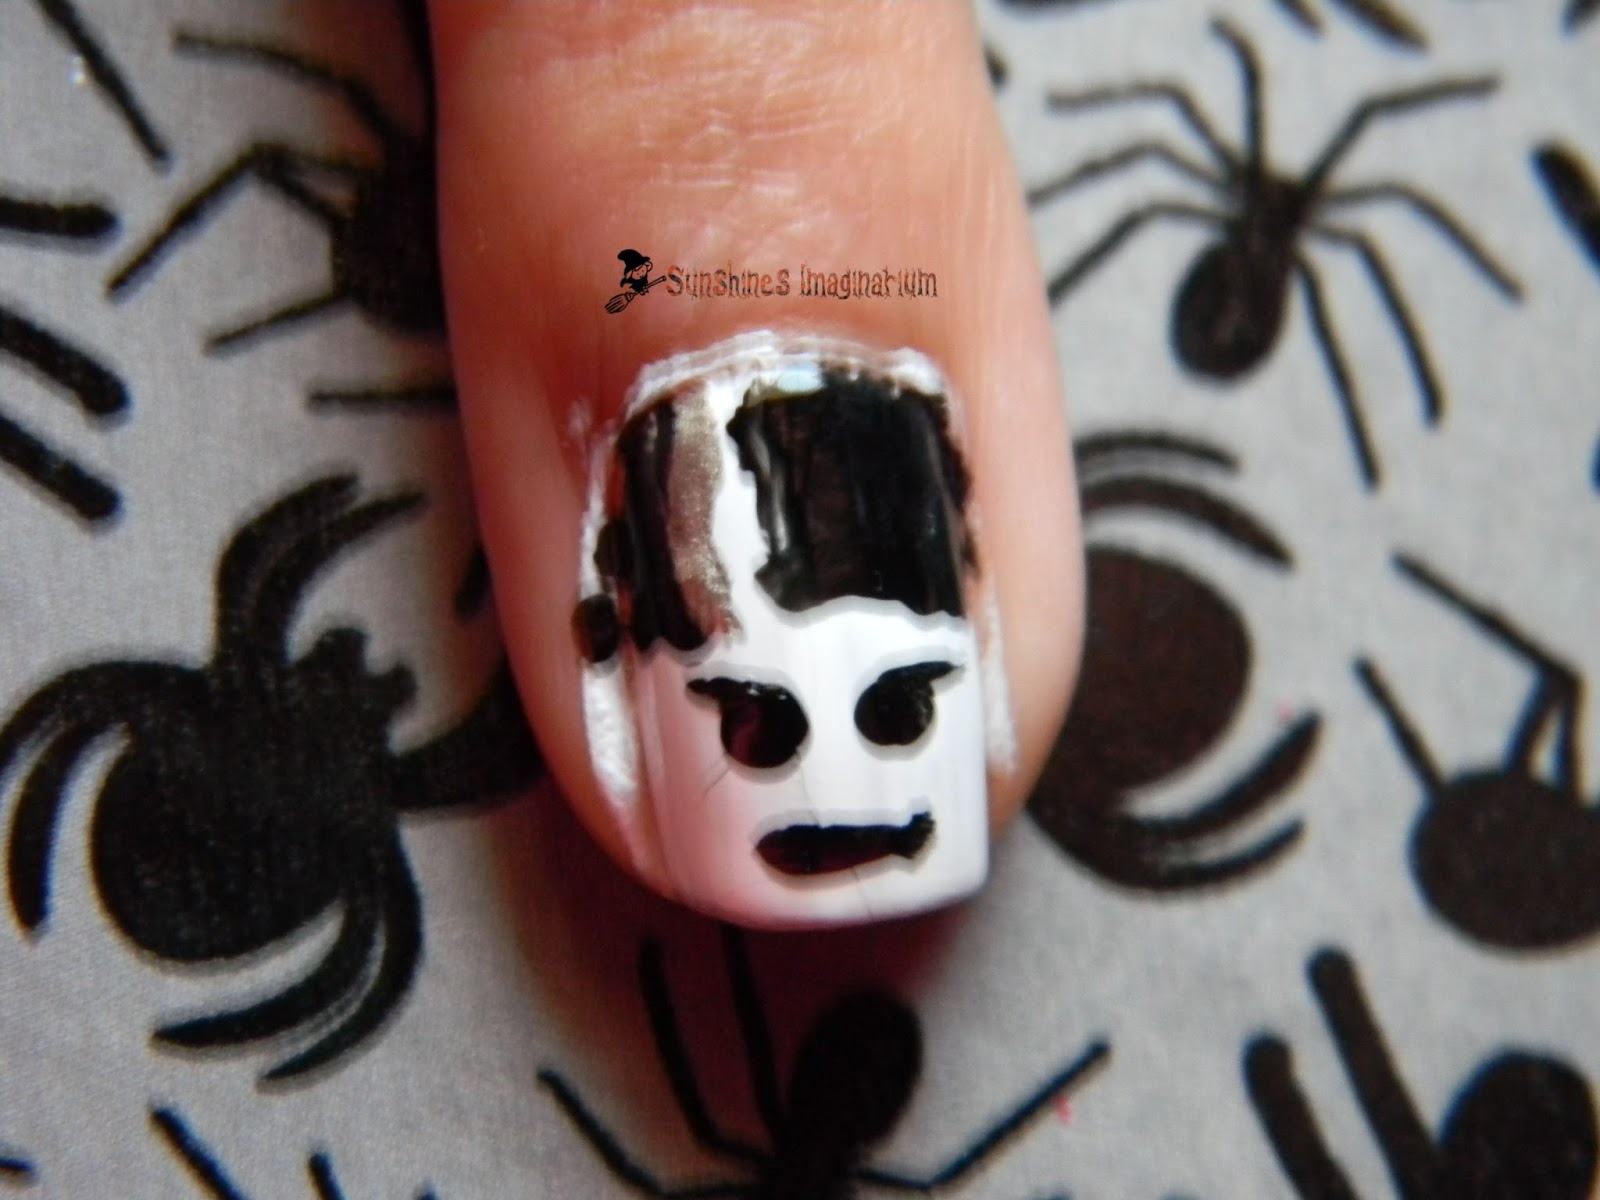
To kick things off, I will be sharing how to create Mrs. Frankenstein. 


Isn't she cute? :)
(And yes I know shes supposed to be green, but I saw this one on google images and I liked how it looked)


  • White polish (Sinful Colors-Snow Me White)
  • Red polish (Mary Kay-Coral Stone)
  • Black polish (NYC Black Cream)
  • Silver polish (Milani-Ms Milani)
  • Topcoat 
  • Small nail brush


After pitting on your clear base, paint your nail white.

 With your brush, draw hair leaving a small gap in between.

 Add a small stripe of silver.

 With the bottom of the brush (or a dotting tool) add two dots for the eyes.

Again with your brush, draw two lines above the dots you just made, and a long one bellow for the mouth.

 To finish, add two red lines for cheeks, and your topcoat. Clean around your nail and you are done!


As for the rest of the nails, you can paint them with the silver, or a green. It's all up to you.
Remember to not let the polish dry on the brush, and to clean it every time you are changing color.


Hope you guys enjoy this, and I will be back with a nother one soon :)
If there is any nail or DIY tutorial you'd like to see, please let me know!