- Washi tape
- X-acto knife
- sandpaper (Optional)
- mod podge and brush
- embellishments (optional)
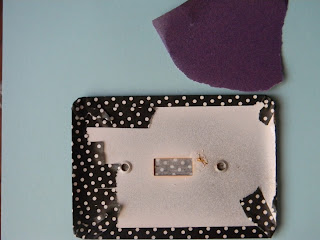
3. Next, with your knife, cut out the middle. It is easier to cut if you only have one piece of washi tape covering the hole.
4. Lastly, you want to apply mod podge to the front. This will seal the washi tape. You want to add at least two coats.
5. Once it is all dry, just push your screws threw the tape CAREFULLY. I didn't have a problem with ripping, but if you do, place en embellishment over, or a bit more tape.
THE FINISHED PRODUCT:
Hope you enjoy this tutorial and if you try it out I would love to see a picture!
Send any mail to : precious.desert.rose@gmail.com


1 comment:
I've seen other posts doing this where instead of cutting out the middle, they get a cleaner finish by using scissors to cut a diagonal slice toward each of the corners. This lets you fold the excess underneath.
Post a Comment