

I know these aren't as pretty or nicely done as soon of the ones you might have seen, but I think you can get the idea of how to do these. Hey, you might end up with a better looking galaxy then I did.
When doing these nails, the key is to be quick and not let the colors completely dry so that when you add your top coat they will blend. The blending is what gives you that galaxy look, having rough spots isn't pretty haha.

- black nail polish (Wet N Wild in Black)
- blue nail polish (Sinful Colors Aquamarine)
- white nail polish (Sinful Colors Snow Me White)
- purple nail polish (Sinful Colors Lets talk)
- glittery nail polish ( Santee Copper Kiss Glitter )
- sponge (cosmetic sponge)

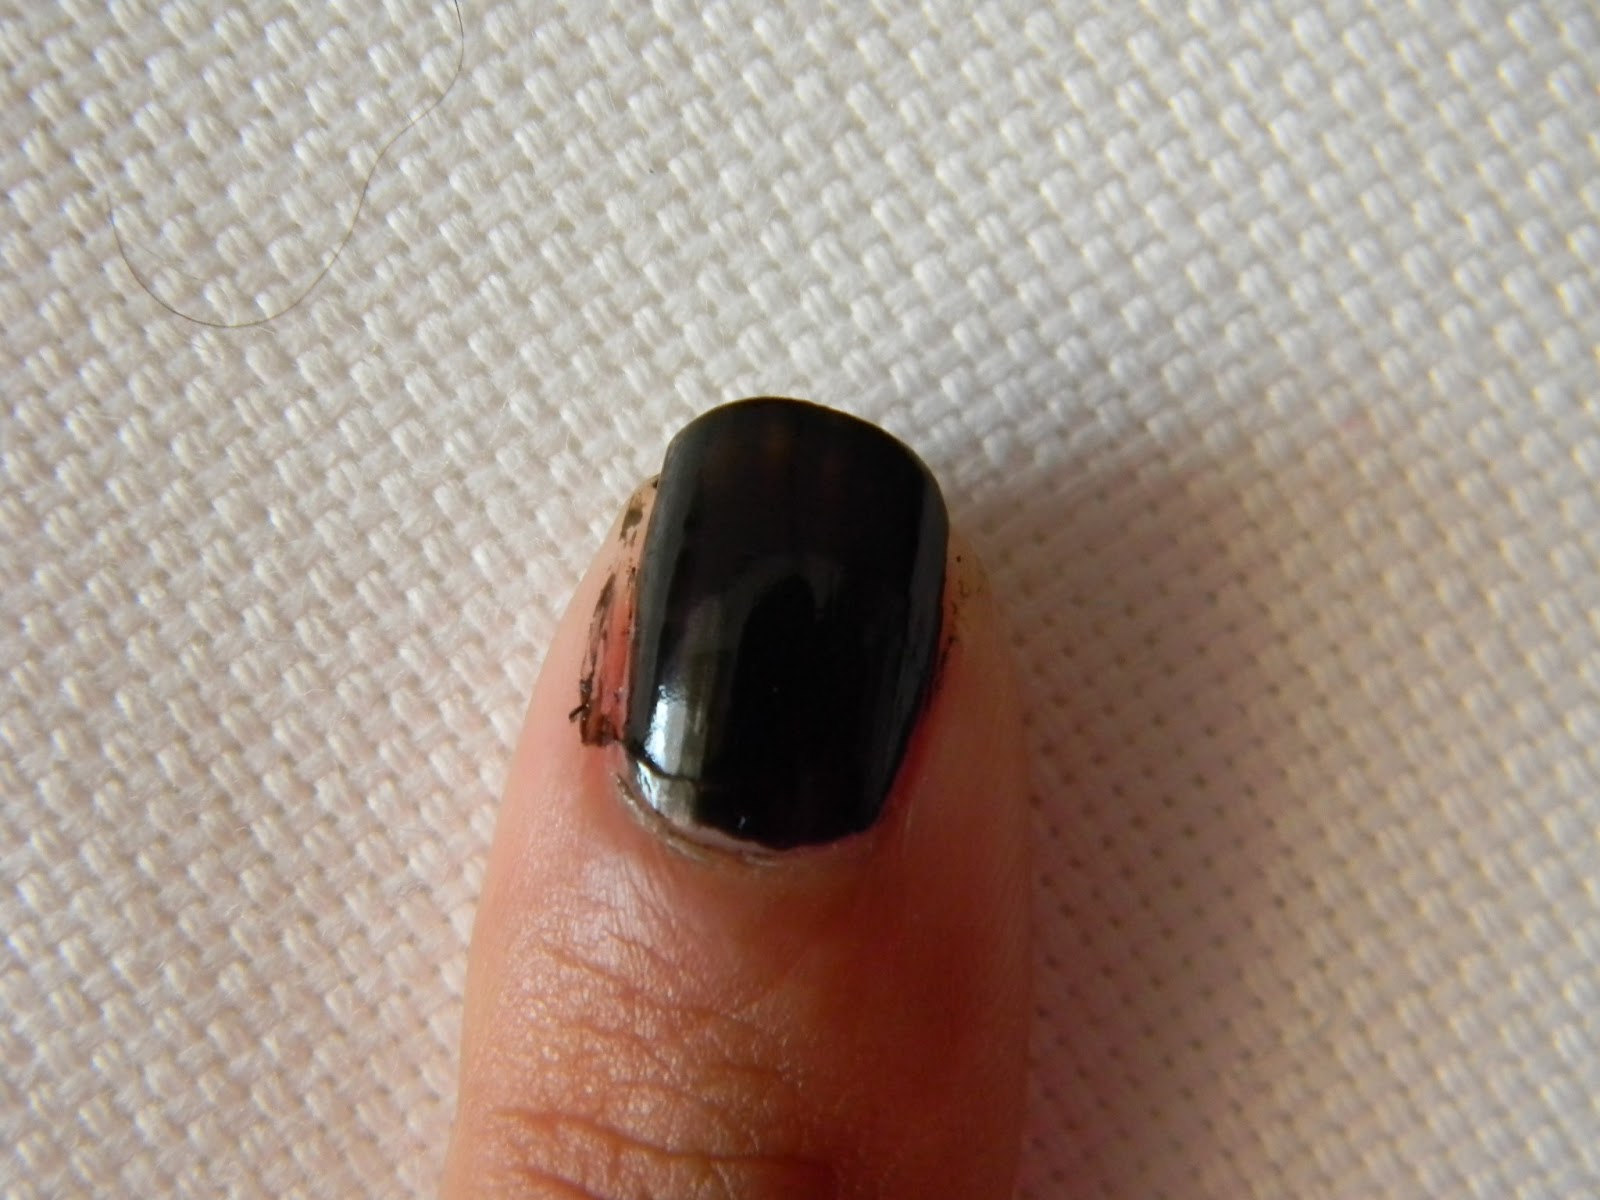
Paint your nail a dork color, I chose black. Let this dry completely.

With a sponge, grab a bit of white and dab it on. You want one area to have a bit more to be your focus point, sorta.

While the white is still a bit wet, sponge on the blue. You can add as little or as much as you like.

Next, dab on some purple while the other two colors are still a it wet. Again, add as little or as much as you like.

Lastly, add a glittery top coat to assimilate the stars.
If you attempt these, I would love to see a picture.
Please send any requests, pictures, ideas and whatever to precious.desert.rose(at)gmail.com
2 comments:
"Lastly, ass a glittery top coat to assimilate the stars."
You might want to fix that typo ;)
Otherwise, it looks great!
Oh my how did I let that one slip? Haha thank you for letting me know Iris!
-Sunshine
Post a Comment